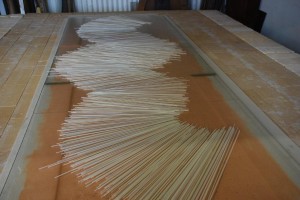
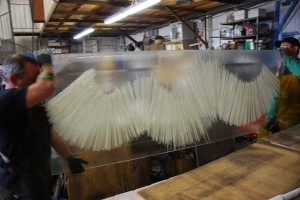
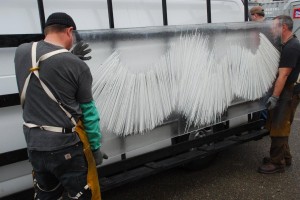
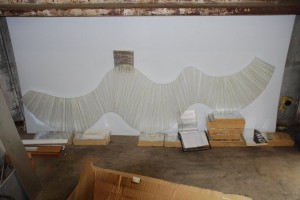
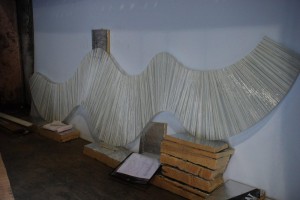
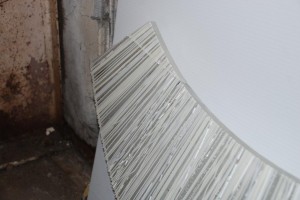
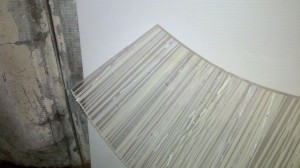
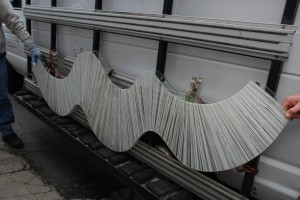
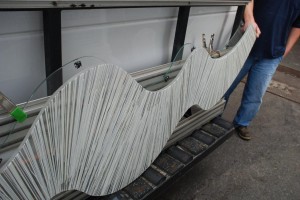
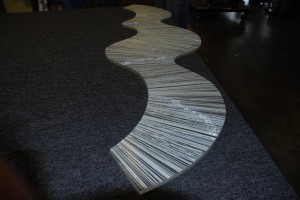
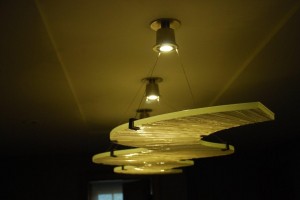
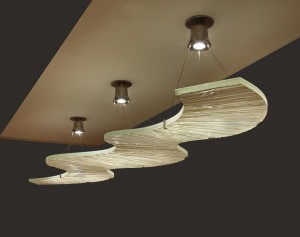
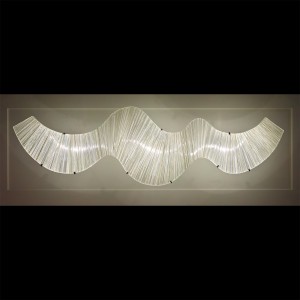
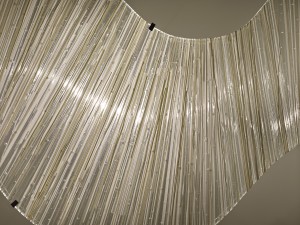
The challenge was to make an 8-ft. long piece of custom fused glass, which would “float” below some LED lamp holders to create a remarkable new light fixture.
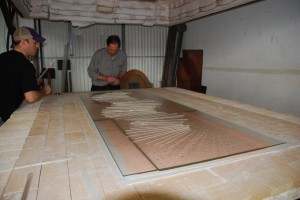
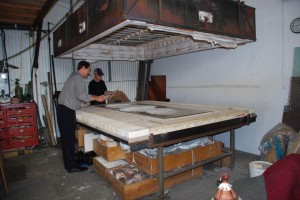
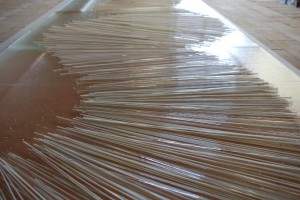
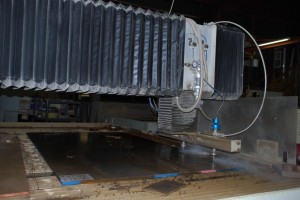
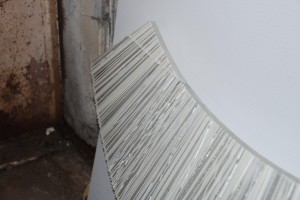
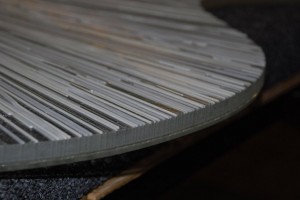
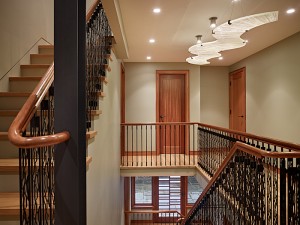
After creating a “base sheet” of 1/2″ glass, we laid out hundreds of small glass rods, known as “stringers,” prior to the kiln firing which would fuse the “stringers” to the base sheet. After heating in the kiln (and cooling), the entire assemblage was waterjet-cut to the final shape, a long serpentine. The glass plane was designed to hang over a stairwell, with three LED lights above to illuminate the glass.
The transporting of the glass from the kiln to the waterjet shop caused a lot of nail-biting, but the glass made it without incident. The waterjet programmer, Jason, had a great deal of experience in cutting glass, but there was always a risk of cracking during the waterjet process. Jason programmed a complicated set of cutting paths, crisscrossing back and forth in order to minimze glass stress. In the event of a crack, we could place the glass back in the kiln to “heal” the crack, but that would be a last resort!
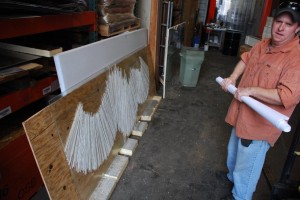
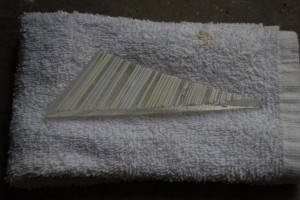
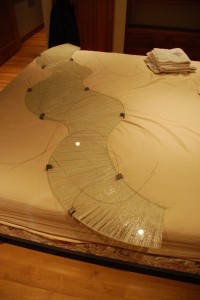
Bad news: we had a small glass break during the waterjet cutting. A small, 4″- long sliver of glass broke off the end of the glass piece. I asked my friend, Joe Benvenuto, to take a look. Joe is a glass artist who does glass fabrication work for a number of glass artists. When we placed the glass sliver onto the glass piece, there was a distinct line between the sliver and the rest of the piece. But, there was hope that Joe could work his magic and make the line disappear!
As you can see from the photos above, Joe Benvenuto was able to use a marvelous glass-to-glass epoxy called HXTAL to make an almost invisible bond between the broken glass sliver and the main glass piece. The joint was very, very faintly visible. We were back in business!
The glass went back on the truck, this time to be transported about 20 miles to a glass lamination shop. We had a safety layer of 1/8″ glass waterjet-cut to the exact same shape as the main art glass piece. The lamination shop’s task was to combine the two layers perfectly.
The glass now had a safety layer of 1/8″ glass, making the overall thickness about 7/8″. We took the piece to a glass shop, intending to do some minor edge polishing. However, after test polishing of some scraps, the glass shop strongly recommended to leave it alone. The sanding action could splinter some of the glass rods. And no one wanted to damage the glass at that point! The edge was acceptable. Some additional polishing would have been nice, but frankly, when you look up at a glowing glass serpentine shape, you will not focus on the edge whatsoever!
We made the LED lampholders in stainless steel, with enough strength to support the 8-ft. long glass with a series of wire cables. Fortunately, we were able to use a standard stainless martini shaker from a kitchen supply store for the basic lamp shade!
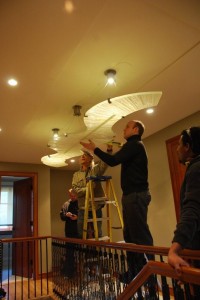
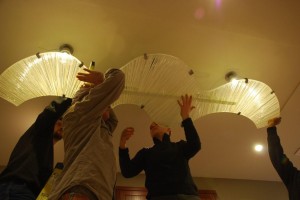
The installation day was pretty tense, and our 2-hour estimate quickly turned into 6 hours! We hoisted the 200-pounds of glass up in the air and attached the clips, but the glass just wouldn’t hang straight! Then, a number of the cable adjustment fittings broke. Finally, we made some crimps so that the cable could never release even if the fitting failed. We succeeded in making the glass hang straight in the end, and the SKLI Max was in place, creating a beautiful and sensuous accent over a 2-story stairwell.
